前面陆陆续续写了几篇 高级 UI 系列文章 ,感觉还不错。因为工作内容原因作者对 UI 开发涉及的很少,所以打算写一点关于 UI 的文章,也算是给自己一个全面的复习。本篇文章还是 基本概念 + 实战来讲解。
概念
SVG 的全称是 (Scalable Vector Graphics) 它是一个可缩放的矢量图形,是专门用于网络的矢量图标准,与矢量图相对应的是位图,Bitmap 就是位图,它由一个个像素点组成,当图片放大到一定大小时, 就会出现马赛克现象,Photoshop 就是常用的位图处理软件,而矢量图则由一个个点组成,经过数学计算利用直线和曲线绘制而成,无论如何放大,都不会出现马赛克问题,illustrator 就是常用的矢量图绘图软件。
SVG VS Bitmap
好处:
- SVG 使用 XML 格式定义图形,,可被非常用的多的工具读取和修改;
- SVG 由点来存储,由计算机根据点信息绘图,不会失真,无须根据分辨率适配多套图标;
- SVG 的占用空间比 Bitmap 小,比如一张 500px * 500px 的图像,转成 SVG 后占用的空间大小是 20KB, 而 PNG 图片则需要 732KB 的空间。
- SVG 可以转换 Path 路径,与 Path 动画相结合,可以形成更丰富的动画。
vector 标签
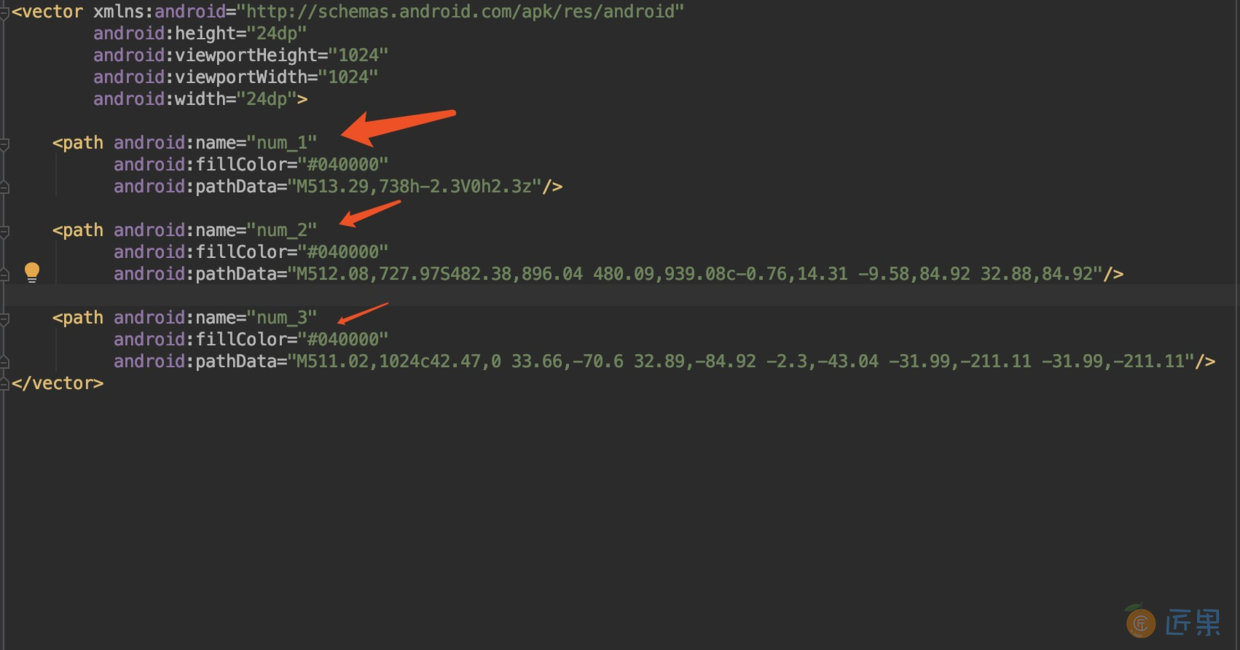
在 Android 中, SVG 矢量图是使用标签定义的,并存放在 res/drawable/ 目录下。一段简单的 SVG 图像代码定义如下:
<vector xmlns:android="http://schemas.android.com/apk/res/android" xmlns:tools="http://schemas.android.com/tools"
        android:height="24dp"
        android:viewportHeight="1024"
        android:viewportWidth="1024"
        android:width="24dp"
        tools:ignore="MissingDefaultResource">
    <path android:fillColor="#040000"
          android:pathData="M513.29,738h-2.3V0h2.3z"/>
    <path android:fillColor="#040000"
          android:pathData="M512.08,727.97S482.38,896.04 480.09,939.08c-0.76,14.31 -9.58,84.92 32.88,84.92"/>
    <path android:fillColor="#040000"
          android:pathData="M511.02,1024c42.47,0 33.66,-70.6 32.89,-84.92 -2.3,-43.04 -31.99,-211.11 -31.99,-211.11"/>
</vector>
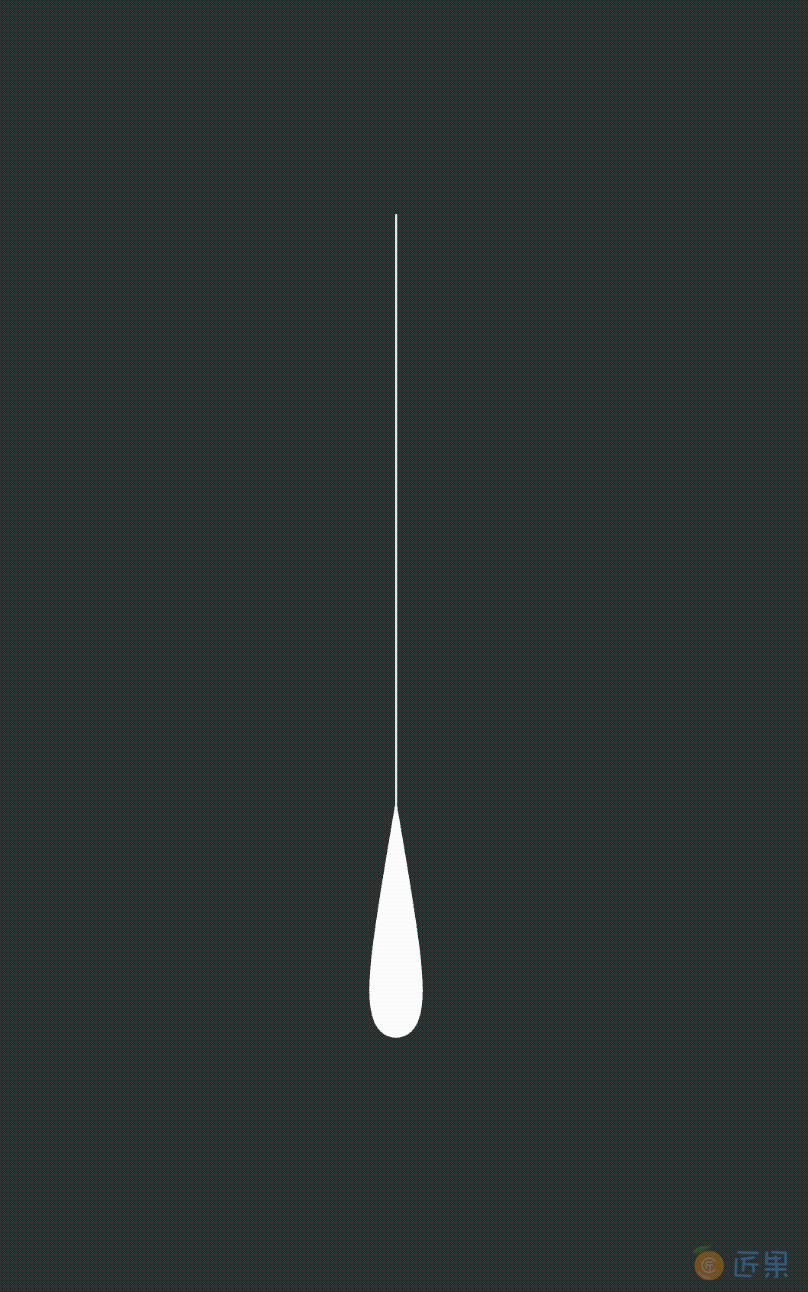
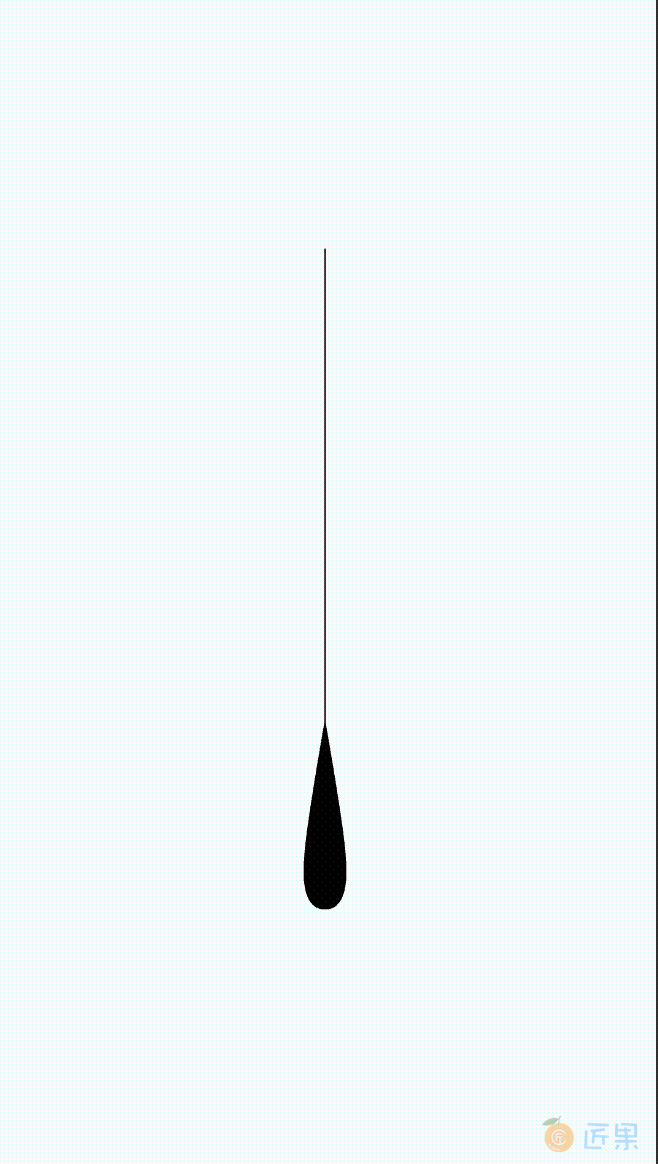
它定义的图像如下所示:
上面水滴形状就是呈现出来的对应的图像,在这段代码中,首先使用 vector 标签来指定这是一幅 SVG 图像,而它有下面几个属性。
- width/height : 表示该 SVG 宽高
- viewportHeight/viewportWidth: 表示 SVG 图形划分的比例
path 标签
常用属性
| 标签名称 | 说明 |
|---|---|
| android:name | 声明一个标记,类似于 ID ,便于对其做动画的时候顺利地找到该节点 |
| android:pathData | 对 SVG 矢量图的描述 |
| android:strokeWidth | 画笔的宽度 |
| android:fillColor | 填充颜色 |
| android:fillAlpha | 填充颜色的透明度 |
| android:strokeColor | 描边颜色 |
| android:strokeWidth | 描边宽度 |
| android:strokeAlpha | 描边透明度 |
| android:strokeLineJoin | 用于指定折线拐角形状,取值有 miter (结合处为锐角)、round(结合处为圆弧)、bevel(结合处为直线) |
| android:strokeLineCap | 画出线条的终点的形状(线帽),取值有 butt(无限帽) 、round (圆形线帽)、square(方形线帽) |
| android:strokeMiterLimit | 设置斜角的上限 |
- android:trimPathStart 属性:该属性用于指定路径从哪里开始,取值 0 ~ 1,表示路径开始位置的百分比。当取值为 0 时,表示从头部开始;当取值为 1 时,整条路径不可见。
- android:trimPathEnd 属性:该属性用于指定路径的结束位置,取值为 0 ~ 1 ,表示路径结束位置的百分比。当取值为 1 时,路径正常结束;当取值为 0 时,表示从头开始位置就已经结束了,整条路径不可见。
- android:trimPathOffset 属性:该属性用于指定结果路径的位移距离,取值为 0 ~ 1 。当取值为 0 时,不进行位移;当取值为 1 时,位移整条路径的长度。
- android:pathData 属性:在 path 标签中,主要通过 pathData 属性来指定 SVG 图像的显示内容。而 pathData 属性初 M 和 L 指令以外,还有更多的指定。
| 指令 | 对应 | 说明 |
|---|---|---|
| M | moveto(M x,y) | 将画笔移动到指定的地方 |
| L | lineto(L X,Y) | 画直线到指定的坐标位置 |
| H | Horizontal lineto(H X) | 画水平线到指定的 X 坐标位置 |
| V | Vertical lineto(V Y) | 画垂直线到指定的 Y 坐标位置 |
| C | curveto(C X1,Y1,X2,Y2,ENDX,ENDY) | 三阶贝济埃曲线 |
| S | Smooth curveto(S X2,Y2,ENDX,ENDY) | 三阶贝济埃曲线 |
| Q | Quadratic Belzier curve(Q X,Y,ENDX,ENDY) | 二阶贝济埃曲线 |
| T | smooth quadratic Belaizer curveto(T ENDX,ENDY) | 映射前面路径后的终点 |
| A | elliptic Arc(A RX,RY,XROTATION,FLAYG1,FLAY2,X,Y) | 弧线 |
| Z | Closepath | 关闭路径 |
制作 SVG 图像
- 方法一: 设计软件:如有你有绘图基础,则可以使用 Illustrator 或在线 SVG 工具制作 SVG 图像,比如:editor.method.ac/ ,或通过 SVG 源文件下载网站下载后进行编辑。
- 方法二: Iconfont:阿里巴巴的矢量图库
Android 中引入 SVG 图像
准备工作
我们知道在 Android 中是不支持直接使用 SVG 图像解析的,我们必须将 SVG图像转换为 vector 标签描述,这里有 2 种方法;
方法一: 在线转换:点击跳转在线转换网站
方法二: AS 转
按照我上面的步骤,就可以生成 Vector 图像了
基础使用
下面对 ImageView 怎么直接使用 vector 进行说明(ps:这里用的 androidx 版本,如果是低版本需要自己去做兼容);
- 在 ImageView 中使用
<?xml version="1.0" encoding="utf-8"?>
<RelativeLayout xmlns:android="http://schemas.android.com/apk/res/android"
                xmlns:tools="http://schemas.android.com/tools"
                android:orientation="vertical"
                android:layout_width="match_parent"
                android:layout_height="match_parent" tools:ignore="MissingDefaultResource">
    <ImageView
            android:id="@+id/iv"
            android:layout_centerInParent="true"
            android:layout_width="match_parent"
            android:src="@drawable/ic_line"
            android:layout_height="500dp"/>
</RelativeLayout>
进阶使用
前面讲解了 vector 标签,静态显示 vector 和制作 SVG 图像的方法,那么该小节就讲解动态的 vector, 动态的 vector 所实现的效果才是 SVG 图像在 Android 应用中的精髓。
要实现 Vector 动画,首先需要 Vector 图像和它所对应的动画,这里依然使用上一小节水滴状态的图像,先来看一下效果:
- 给 path 定义 name,如下所示
- 定义一个 Animator 文件,以表示对这幅 Vector 图像做动画
需要注意的是,这里的文件是对应 Vector 中 path 标签的,这里动画效果是动态改变 path 标签的 trimPathStart 属性值,从 0 ~ 1 。<?xml version="1.0" encoding="utf-8"?> <objectAnimator xmlns:android="http://schemas.android.com/apk/res/android" android:propertyName="trimPathStart" android:valueFrom="1" android:valueTo="0" android:duration="3000" > </objectAnimator> - 定义 animated-vector 进行关联
在上述代码中,drawable 代表关联的 vector 图像,target 代表将 path name 和动画进行关联<?xml version="1.0" encoding="utf-8"?> <animated-vector xmlns:android="http://schemas.android.com/apk/res/android" xmlns:tools="http://schemas.android.com/tools" android:drawable="@drawable/ic_line" tools:targetApi="lollipop"> <target android:animation="@anim/anim_start" android:name="num_1"></target> <target android:animation="@anim/anim_start" android:name="num_2"></target> <target android:animation="@anim/anim_start" android:name="num_3"></target> </animated-vector> - 代码中进行设置
class SVGDemo1Activity : AppCompatActivity() {
    @RequiresApi(Build.VERSION_CODES.LOLLIPOP)
    override fun onCreate(savedInstanceState: Bundle?) {
        super.onCreate(savedInstanceState)
        setContentView(R.layout.activity_svg)
        startAnimatabe()
    }
    private fun startAnimatabe() {
        val animatedVectorDrawable = AnimatedVectorDrawableCompat.create(this, R.drawable.line_animated_vector)
        iv.setImageDrawable(animatedVectorDrawable)
        val animatable = iv.drawable as Animatable
        animatable.start()
    }
}
实战
输入搜索动画
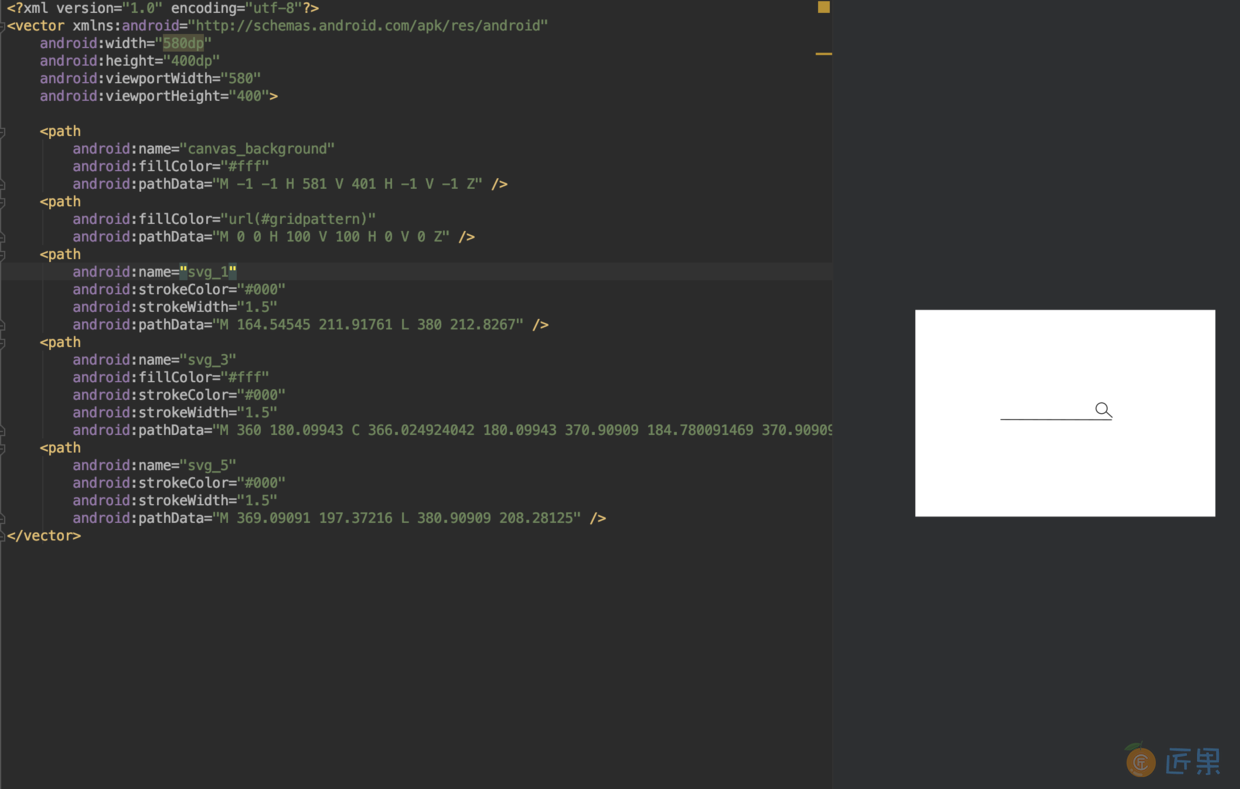
- 利用在线绘制 SVG 图标网站 制作搜索图标 可以自己随意捣鼓绘制,绘制好了之后点击视图->源代码,将 SVG 代码复制出来保存成 search_svg.xml
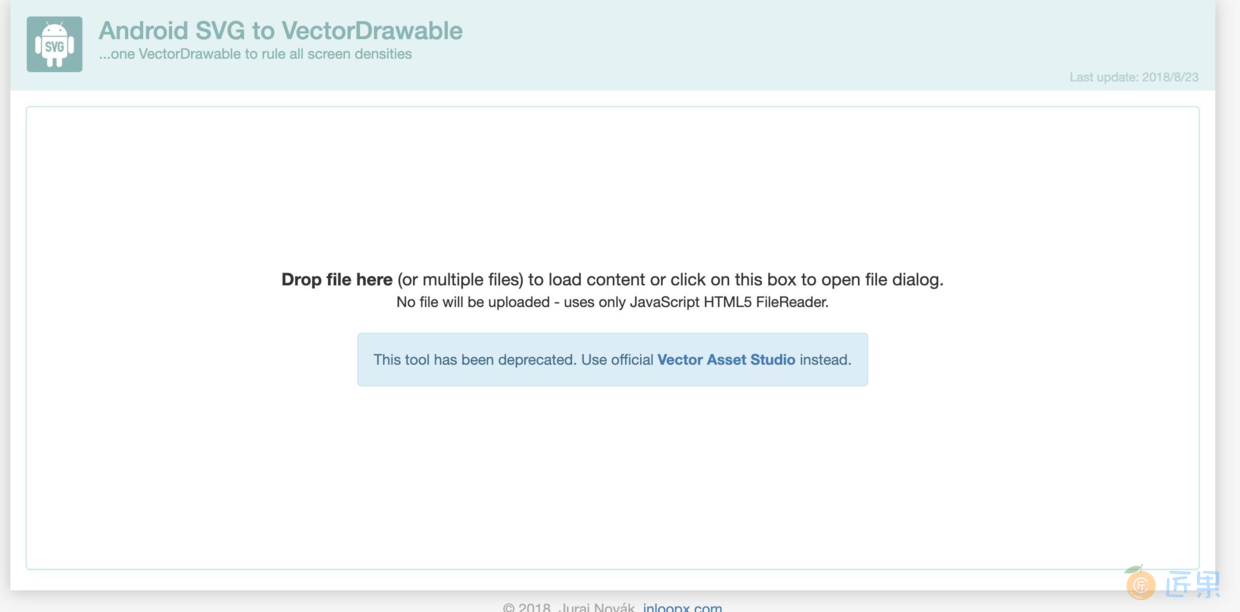
- 在线转换 svg2vector 点击空白或者直接将 SVG 拖拽指定区域进行转换
- 将转换好的 Android 格式的 vector 导入 AS
- 开始制作动画关联
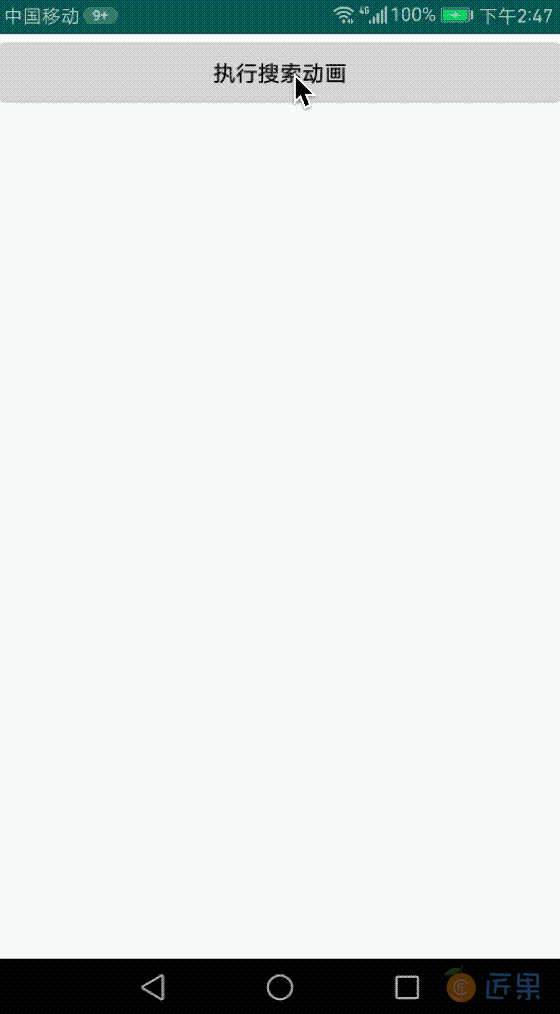
//1.在 /res/aniamator 文件夹下 定义动画 <?xml version="1.0" encoding="utf-8"?> <objectAnimator xmlns:android="http://schemas.android.com/apk/res/android" android:propertyName="trimPathStart" android:valueFrom="1" android:valueTo="0" android:duration="2000" > </objectAnimator> //2\. 在/res/drawable/ 定义 vector <?xml version="1.0" encoding="utf-8"?> <vector xmlns:android="http://schemas.android.com/apk/res/android" android:width="580dp" android:height="400dp" android:viewportWidth="580" android:viewportHeight="400"> <path android:name="svg_1" android:strokeColor="#000" android:strokeWidth="1.5" android:pathData="M 164.54545 211.91761 L 380 212.8267" /> <path android:name="svg_2" android:strokeColor="#000" android:strokeWidth="1.5" android:pathData="M 360 180.09943 C 366.024924042 180.09943 370.90909 184.780091469 370.90909 190.55398 C 370.90909 196.327868531 366.024924042 201.00853 360 201.00853 C 353.975075958 201.00853 349.09091 196.327868531 349.09091 190.55398 C 349.09091 184.780091469 353.975075958 180.09943 360 180.09943 Z" /> <path android:name="svg_3" android:strokeColor="#000" android:strokeWidth="1.5" android:pathData="M 369.09091 197.37216 L 380.90909 208.28125" /> </vector> //3\. 在/res/drawable/ 关联动画和 vector <?xml version="1.0" encoding="utf-8"?> <animated-vector xmlns:android="http://schemas.android.com/apk/res/android" xmlns:tools="http://schemas.android.com/tools" android:drawable="@drawable/search_svg" tools:targetApi="lollipop"> <target android:animation="@animator/anim_start" android:name="svg_1"></target> <target android:animation="@animator/anim_start" android:name="svg_2"></target> <target android:animation="@animator/anim_start" android:name="svg_3"></target> </animated-vector> - 效果
警车灯闪烁
今日头条下拉刷新动画
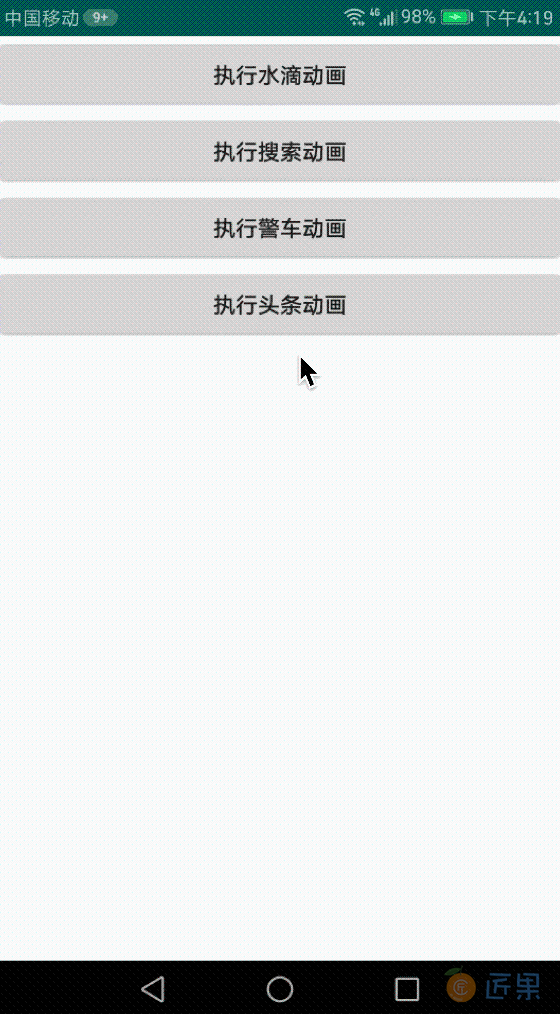
来一个复杂组合动画,请看下面效果图:
- 准备 vector 数据
<vector xmlns:android="http://schemas.android.com/apk/res/android" android:width="200dp" android:height="200dp" android:viewportHeight="200" android:viewportWidth="200"> <path android:name="tt_1" android:fillColor="#C2BFBF" android:pathData=" M20,30 L100,30 M100,30 L100,90 M100,90 L20,90 M20,90 L20,30" android:strokeColor="#C2BFBF" android:strokeLineCap="round" android:strokeWidth="6"/> <path android:name="tt_2" android:pathData=" M120,30 L180,30 M120,60 L180,60 M120,90 L180,90" android:strokeColor="#C2BFBF" android:strokeLineCap="round" android:strokeWidth="6"/> <path android:name="tt_3" android:pathData=" M20,120 L180,120 M20,150 L180,150 M20,180 L180,180" android:strokeColor="#C2BFBF" android:strokeLineCap="round" android:strokeWidth="6"/> <path android:pathData=" M0,0 L200,0 M200,0 L200,200 M200,200 L0,200 M0,200 L0,0" android:strokeColor="#C2BFBF" android:strokeLineCap="round" android:strokeWidth="6"/> </vector> - 定义顺时针执行动画并做 pathData 变换,这里拿其中一个位置变化来举例说明:
如果对标签中的定义还不了解的先去看下文章中<?xml version="1.0" encoding="utf-8"?> <set xmlns:android="http://schemas.android.com/apk/res/android" android:ordering="sequentially">//按顺序执行 //依次执行 pathData 位置变换 <objectAnimator android:duration="600" android:interpolator="@android:interpolator/decelerate_cubic" android:propertyName="pathData" android:valueFrom=" M20,30 L100,30 M100,30 L100,90 M100,90 L20,90 M20,90 L20,30" android:valueTo=" M100,30 L180,30 M180,30 L180,90 M180,90 L100,90 M100,90 L100,30" android:valueType="pathType" /> <objectAnimator android:duration="600" android:interpolator="@android:interpolator/decelerate_cubic" android:propertyName="pathData" android:valueFrom=" M100,30 L180,30 M180,30 L180,90 M180,90 L100,90 M100,90 L100,30" android:valueTo=" M100,120 L180,120 M180,120 L180,180 M180,180 L100,180 M100,180 L100,120" android:valueType="pathType" /> <objectAnimator android:duration="600" android:interpolator="@android:interpolator/decelerate_cubic" android:propertyName="pathData" android:valueFrom=" M100,120 L180,120 M180,120 L180,180 M180,180 L100,180 M100,180 L100,120" android:valueTo=" M20,120 L100,120 M100,120 L100,180 M100,180 L20,180 M20,180 L20,120" android:valueType="pathType" /> <objectAnimator android:duration="600" android:interpolator="@android:interpolator/decelerate_cubic" android:propertyName="pathData" android:valueFrom=" M20,120 L100,120 M100,120 L100,180 M100,180 L20,180 M20,180 L20,120" android:valueTo=" M20,30 L100,30 M100,30 L100,90 M100,90 L20,90 M20,90 L20,30" android:valueType="pathType" /> </set>path 标签中的说明。如果不理解标签意思,根本就看不懂。 - 进行关联
<?xml version="1.0" encoding="utf-8"?> <animated-vector xmlns:android="http://schemas.android.com/apk/res/android" xmlns:tools="http://schemas.android.com/tools" android:drawable="@drawable/ic_toutiao" tools:targetApi="lollipop"> <target android:animation="@animator/tt_path_one" android:name="tt_1"/> <target android:animation="@animator/tt_path_two" android:name="tt_2"/> <target android:animation="@animator/tt_path_three" android:name="tt_3"/> </animated-vector> - 代码控制重复执行
class SVGDemo1Activity : AppCompatActivity() {
    var reStartTT = @SuppressLint("HandlerLeak")
    object : Handler() {
        override fun handleMessage(msg: Message) {
            super.handleMessage(msg)
            startAnimatabe(R.drawable.line_animated_toutiao, true)
        }
    }
    @RequiresApi(Build.VERSION_CODES.LOLLIPOP)
    override fun onCreate(savedInstanceState: Bundle?) {
        super.onCreate(savedInstanceState)
        setContentView(R.layout.activity_svg)
        //水滴动画
        startWaterDropAnimator.setOnClickListener {
            startAnimatabe(R.drawable.line_animated_vector, false)
        }
        //搜索动画
        startSearchAnimator.setOnClickListener {
            startAnimatabe(R.drawable.line_animated_search, false)
        }
        //执行警车动画
        startPoliceCarAnimator.setOnClickListener {
            startAnimatabe(R.drawable.line_animated_car, false)
        }
        //执行头条动画
        startTTAnimator.setOnClickListener {
            startAnimatabe(R.drawable.line_animated_toutiao, true)
        }
    }
    private fun startAnimatabe(lineAnimatedVector: Int, isRegister: Boolean): Animatable {
        val animatedVectorDrawable = AnimatedVectorDrawableCompat.create(this, lineAnimatedVector)
        iv.setImageDrawable(animatedVectorDrawable)
        val animatable = iv.drawable as Animatable
        animatable.start()
        animatedVectorDrawable!!.registerAnimationCallback(object : Animatable2Compat.AnimationCallback() {
            override fun onAnimationEnd(drawable: Drawable?) {
                super.onAnimationEnd(drawable)
                if (!isRegister) return
                animatedVectorDrawable.unregisterAnimationCallback(this)
                //重新开始在 xml 设置 restart 无效暂时用 Handler 实现了。
                reStartTT.sendEmptyMessage(0)
            }
        })
        return animatable
    }
}
绘制中国地图
该篇之前实现 SVG pathData 都是利用 ImageView 来实现,并不是所有的场合都适合上面的方式,比如我想要实现 pathData 区域点击,那么上面所讲的方式应该是不能实现,下面我们以一个实例来看怎么自定义 View 实现 PathData 和 pathData 区域点击事件。
下面我们利用 path 来绘制一个中国地图,先来看一个最终效果图,如下:
看起来是不是很炫,还不错,嘿嘿,下面我们就来看一下如何实现。
- 准备地图 SVG
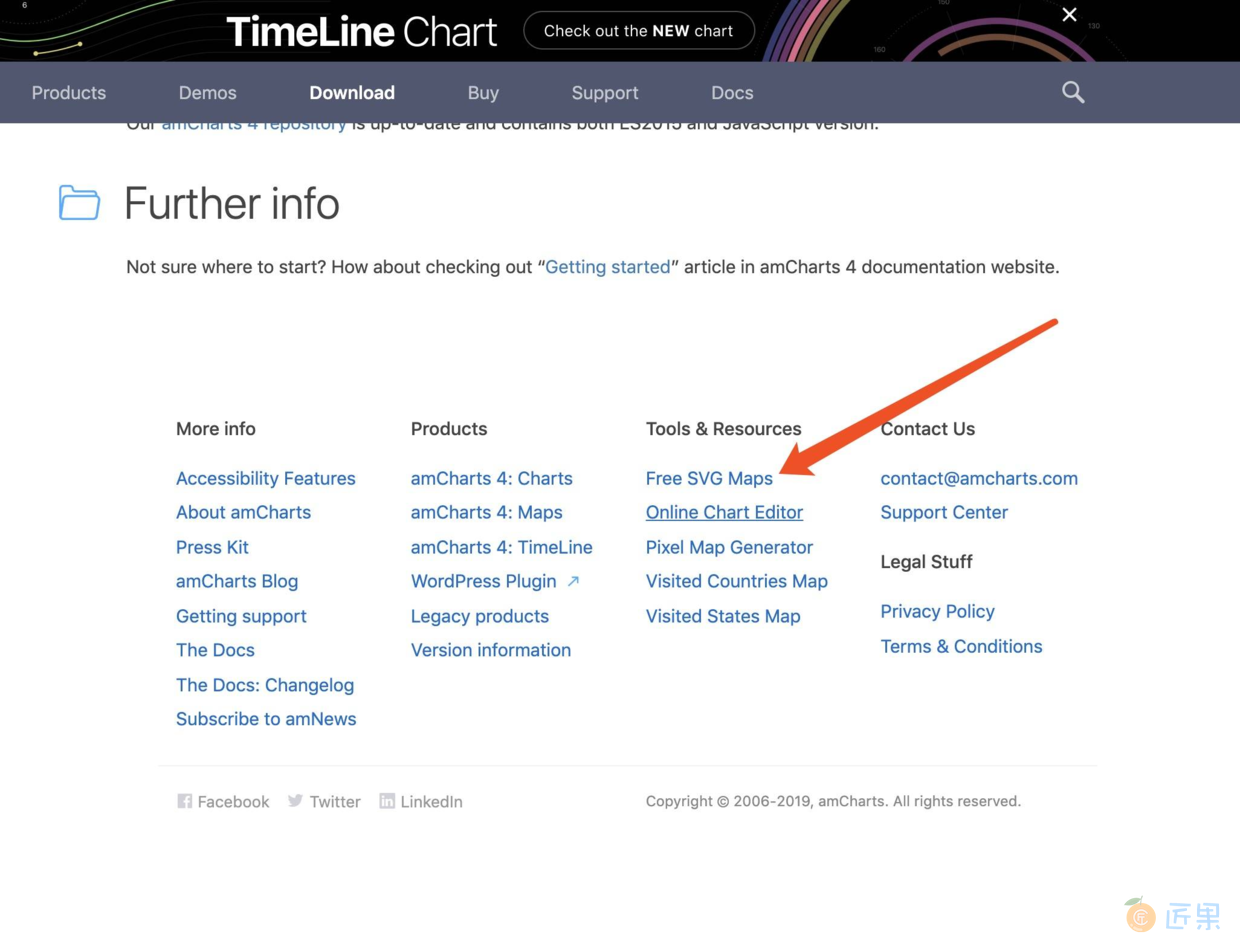
- 首先去下载地图数据
- 选择下载免费的地图数据
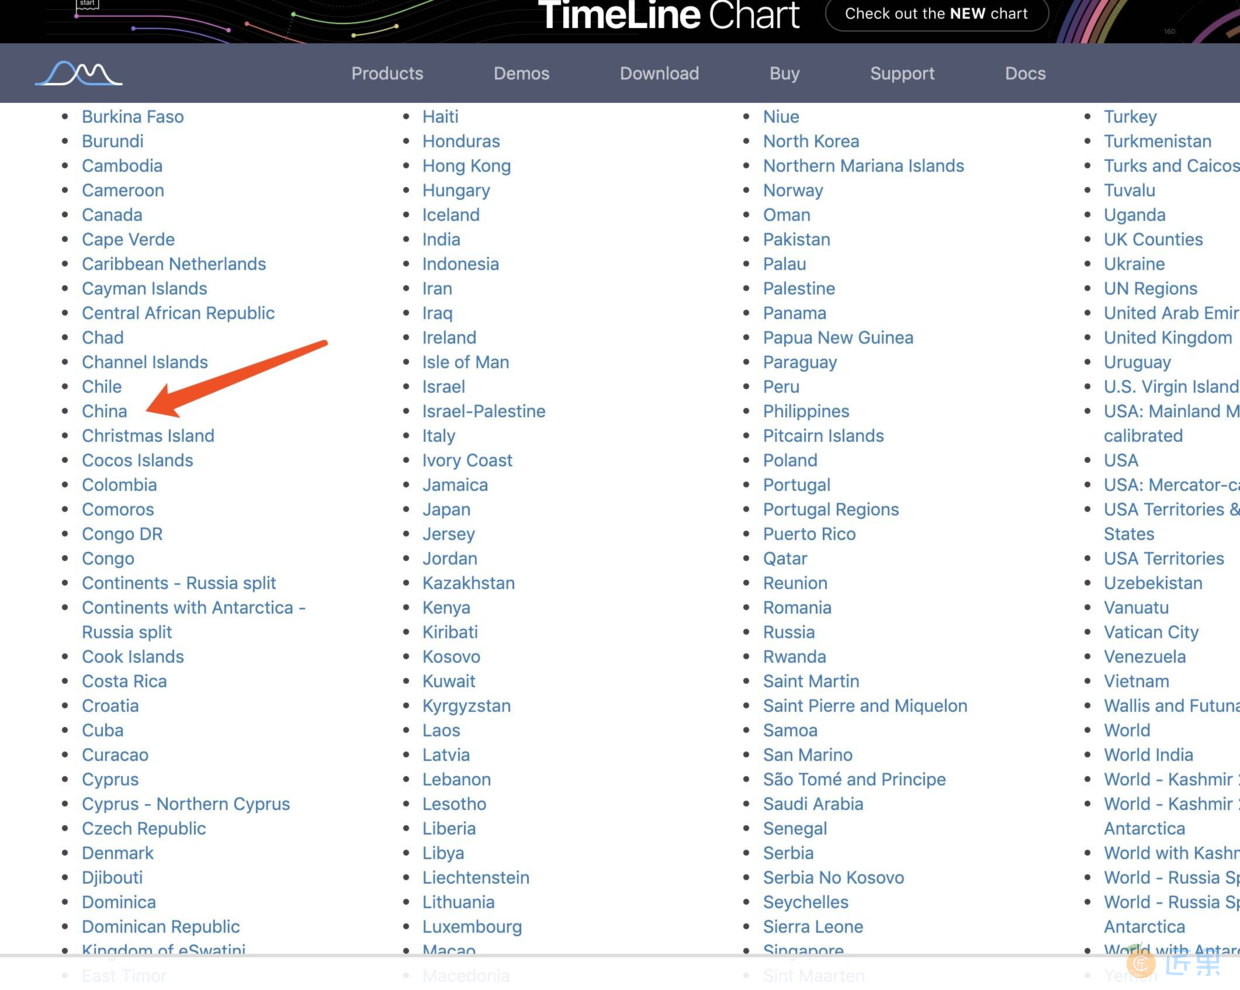
- 找到对应的国家点击下载 svg 数据
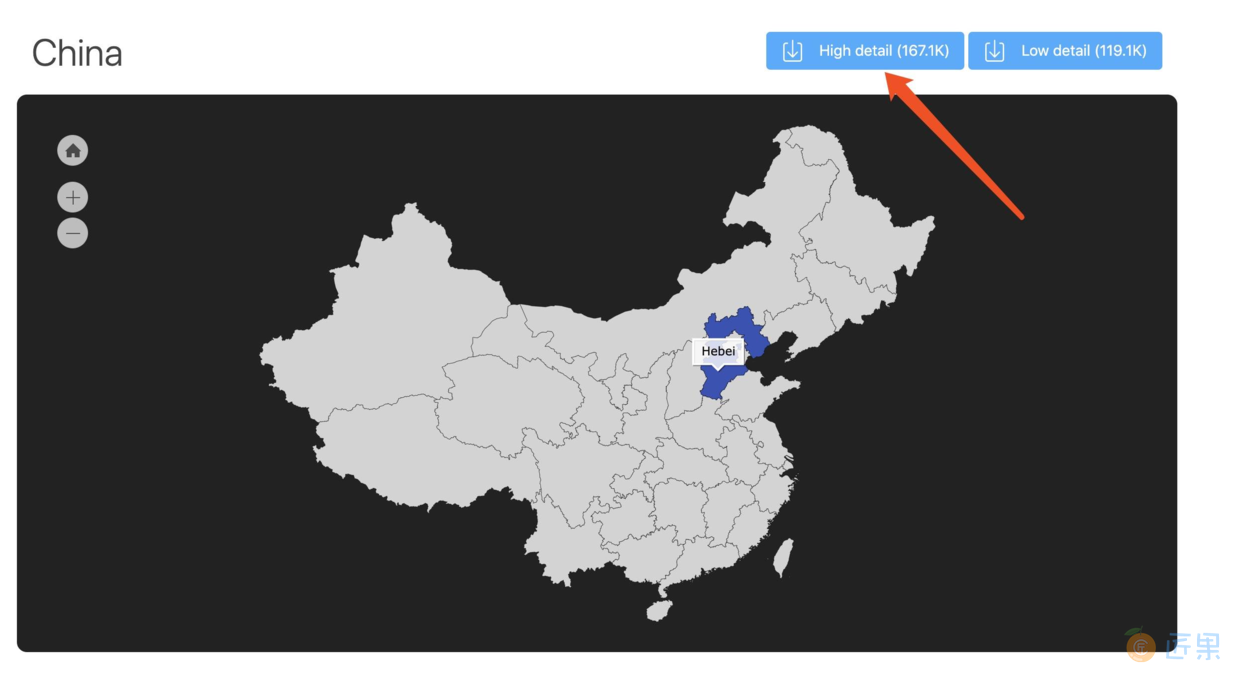
- 选择对应的地图数据,我这里下载的是高质量的 SVG
- SVG to Vector XML
将下载好的 china.svg 格式的文件转为 vector 节点的 xml 数据 或者用 AS 自带转也行,看个人爱好。
转好之后放入 AS 中,如下所示
现在有了这些数据,我们就可以解析 XML
path节点,拿到pathData数据我们不就可以绘制 path 了嘛。下面就开始解析 XML ,解析的方法很多种,我们这里用 dom 解析。 - 开始解析 XML
解析 XML 有很多种方式,这里就直接使用
DOM解析,pathData2Path 我这里直接用 Android SDK 提供的android.support.v4.graphics#PathParser由于源码中它被标注了hide属性 ,我们需要直接将它 copy 到我们自己项目中, 具体转化请看如下代码:/** * 开始解析 xml */ public fun dom2xml(stream: InputStream?): MutableList<MapData> { mapDataLists.clear() //dom val newInstance = DocumentBuilderFactory.newInstance() val newDocumentBuilder = newInstance.newDocumentBuilder() //拿到 Docment 对象 val document = newDocumentBuilder.parse(stream) //获取 xml 中属于 path 节点的所有信息 val elementsByTagName = document.getElementsByTagName(PATH_TAG) //定义四个点,确定整个 map 的范围 var left = -1f var right = -1f var top = -1f var bottom = -1f //开始遍历标签,拿到 path 数据组 for (pathData in 0 until elementsByTagName.length) { val item = elementsByTagName.item(pathData) as Element val name = item.getAttribute("android:name") val fillColor = item.getAttribute("android:fillColor") val strokeColor = item.getAttribute("android:strokeColor") val strokeWidth = item.getAttribute("android:strokeWidth") val pathData = item.getAttribute("android:pathData") val path = PathParser.createPathFromPathData(pathData) mapDataLists.add(MapData(name, fillColor, strokeColor, strokeWidth, path)) //获取控件的宽高 val rect = RectF() //获取到每个省份的边界 path.computeBounds(rect, true) //遍历取出每个path中的left取所有的最小值 left = if (left == -1f) rect.left else Math.min(left, rect.left) //遍历取出每个path中的right取所有的最大值 right = if (right == -1f) rect.right else Math.max(right, rect.right) //遍历取出每个path中的top取所有的最小值 top = if (top == -1f) rect.top else Math.min(top, rect.top) //遍历取出每个path中的bottom取所有的最大值 bottom = if (bottom == -1f) rect.bottom else Math.max(bottom, rect.bottom) } //MAP 的矩形区域 MAP_RECTF = RectF(left, top, right, bottom) return mapDataLists; } - 进行控件测量适配横竖屏切换和宽高定义 wrap_content 模式
/** * 开始测量 */ override fun onMeasure(widthMeasureSpec: Int, heightMeasureSpec: Int) { super.onMeasure(widthMeasureSpec, heightMeasureSpec) //测量模式 var widthMode = MeasureSpec.getMode(widthMeasureSpec) var heightMode = MeasureSpec.getMode(heightMeasureSpec) //测量大小 widthSize = MeasureSpec.getSize(widthMeasureSpec) heightSize = MeasureSpec.getSize(heightMeasureSpec) if (!MAP_RECTF.isEmpty && mMapRectHeight != 0f && mMapRectWidth != 0f) { //显示比例 scaleHeightValues = heightSize / mMapRectHeight scaleWidthValues = widthSize / mMapRectWidth } //xml 文件中宽高 wrap_content if (widthMode == MeasureSpec.AT_MOST || heightMode == MeasureSpec.AT_MOST) { //如果是横屏宽保留最大,高需要适配 if (widthSize < heightSize && mMapRectHeight != 0f) { setMeasuredDimension(widthSize, (mMapRectHeight * scaleWidthValues).toInt()) } else { setMeasuredDimension(widthSize, heightSize) } } else { setMeasuredDimension(widthSize, heightSize) } } - 开始绘制 path
/** * 绘制 Map 数据 */ @SuppressLint("Range") private fun drawMap(canvas: Canvas) { canvas.save() if (widthSize > heightSize) { canvas.scale(scaleWidthValues, scaleHeightValues) } else { canvas.scale(scaleWidthValues, scaleWidthValues) } mapDataList.forEach { data -> run { if (data.isSelect) { drawPath(data, canvas, Color.RED) } else { drawPath(data, canvas, Color.parseColor(data.fillColor)) } } } canvas.restore() canvas.drawText("中国🇨🇳地图", widthSize / 2 - mPaintTextTitle.measureText("中国🇨🇳地图") / 2f, 100f, mPaintTextTitle) } /** * 开始绘制 Path */ private fun drawPath( data: MapData, canvas: Canvas, magenta: Int ) { mPaintPath.setColor(magenta) mPaintPath.setStyle(Paint.Style.FILL) mPaintPath.setTextSize(30f) mPaintPath.setStrokeWidth(data.strokeWidth.toFloat()) canvas.drawPath(data.pathData, mPaintPath) val rectF = RectF() data.pathData.computeBounds(rectF, true) canvas.drawText( if (data.name.isEmpty()) "" else data.name, rectF.centerX() - mPaintText.measureText(data.name) / 2, rectF.centerY(), mPaintText ) } - 给地图添加各自的点击事件
    override fun onTouchEvent(event: MotionEvent): Boolean {
        when (event.action) {
            MotionEvent.ACTION_DOWN -> return true
            MotionEvent.ACTION_UP -> {
                handlerTouch(event.getX(), event.getY())
            }
        }
        return super.onTouchEvent(event)
    }
    /**
     * 处理点击事件
     */
    private fun handlerTouch(x: Float, y: Float) {
        if (mapDataList.size == 0) return
        var xScale = 0f
        var yScale = 0f
        if (widthSize > heightSize) {
            xScale = scaleWidthValues
            yScale = scaleHeightValues
        } else {
            xScale = scaleWidthValues
            yScale = scaleWidthValues
        }
        mapDataList.forEach { data ->
            run {
                data.isSelect = false
                if (isTouchRegion(x / xScale, y / yScale, data.pathData)) {
                    data.isSelect = true
                    postInvalidate()
                }
            }
        }
    }
}
/**
 * 判断是否在点击区域内
 */
fun isTouchRegion(x: Float, y: Float, path: Path): Boolean {
    //创建一个矩形
    val rectF = RectF()
    //获取到当前省份的矩形边界
    path.computeBounds(rectF, true)
    //创建一个区域对象
    val region = Region()
    //将path对象放入到Region区域对象中
    region.setPath(path, Region(rectF.left.toInt(), rectF.top.toInt(), rectF.right.toInt(), rectF.bottom.toInt()))
    //返回是否这个区域包含传进来的坐标
    return region.contains(x.toInt(), y.toInt())
}
到这里 SVG 知识已经讲解完了,觉得还不过瘾的可以自己尝试一下其他国家的地图绘制。
总结
这里一定要注意在低版本上使用 SVG 存在兼容问题,需要各自查阅资料解决。
不知道还有没有记得上一篇 [高级 UI 成长之路 (六) PathMeasure 制作路径动画] 中我提到了只要给我一个 Path 数据,我就能绘制出图形,看完该篇是不是认为说的没毛病吧。建议大家在项目上多使用 SVG ,好处文章开头也提到了,这里就不在啰嗦了。到这里 SVG 制作图像和动画效果就全部讲完了。
